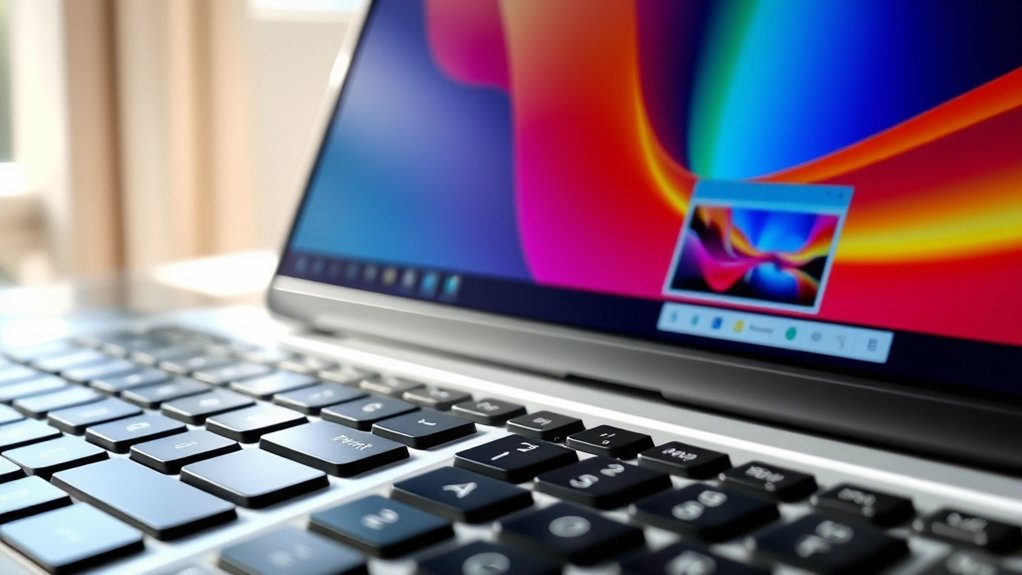
Print Screen Vs Snipping Tool is a common comparison when deciding how to capture your screen efficiently.
You’d use Print Screen when you need a fast, full-screen capture saved to your clipboard without fuss. It’s a quick way to grab everything on your screen instantly.
The Snipping Tool is better for capturing specific areas with precision and lets you edit, save, or share images right away. It’s perfect when you want control over what you capture and how it looks.
Both come with helpful keyboard shortcuts to speed things up.
If you want to get the most from these tools, there’s more detail ahead.
Key Takeaways
- Print Screen captures the entire screen instantly, while Snipping Tool allows selection of specific areas or windows for precise screenshots.
- Print Screen saves images to the clipboard, requiring external apps for editing, whereas Snipping Tool offers built-in editing and multiple image format options.
- Snipping Tool supports direct saving, copying, or emailing of screenshots, enhancing workflow compared to Print Screen’s reliance on external sharing methods.
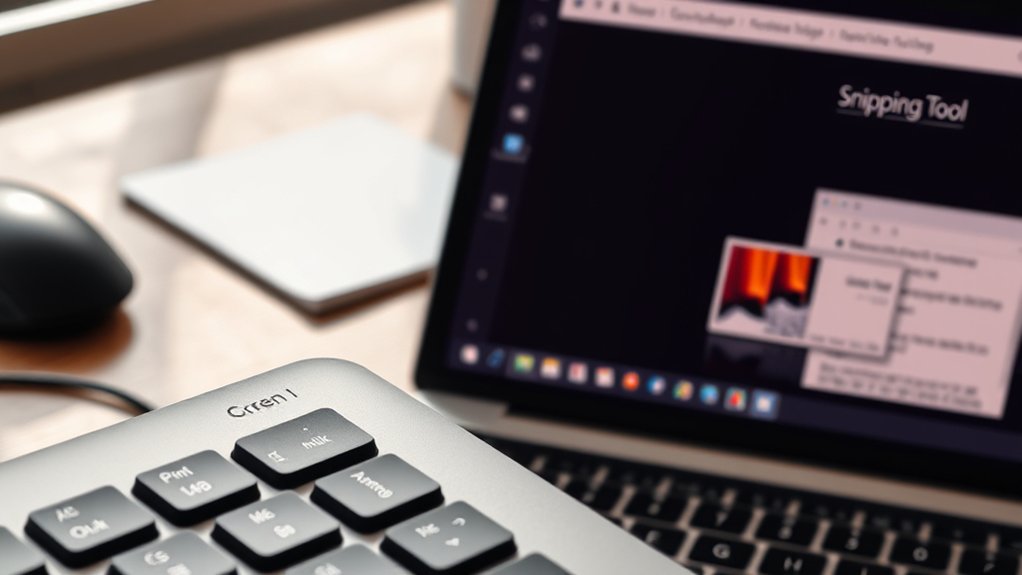
- Keyboard shortcuts like “PrtScn” capture full screens, and “Windows key + Shift + S” opens Snipping Tool’s snip menu for customized captures.
- Troubleshooting Print Screen and Snipping Tool issues involves restarting, updating drivers, checking clipboard, and adjusting settings for optimal screenshot quality.
How Do Print Screen and Snipping Tool Capture Screenshots Differ?
While both Print Screen and Snipping Tool let you capture your screen, they work quite differently. Print Screen instantly copies the entire screen to your clipboard, offering a quick way to grab a full screenshot. However, it doesn’t let you choose specific areas, and the screenshot quality depends on your display resolution.
Print Screen captures the entire screen instantly but lacks area selection and depends on display resolution for quality.
It saves images in a clipboard format, so you must paste and save them manually, usually as PNG or JPEG.
The Snipping Tool, on the other hand, lets you select a custom area, providing more control over what you capture. It also offers various image formats like PNG, JPEG, and GIF, ensuring better screenshot quality tailored to your needs.
This flexibility makes Snipping Tool ideal for precise, high-quality captures.
When to Use Print Screen or Snipping Tool
Although both tools capture screenshots, you’ll choose Print Screen when you need a quick, full-screen grab without extra steps. It’s ideal for usage scenarios where speed matters more than selecting specific areas.
However, if you want precise control over what you capture or need better screenshot quality by cropping out unnecessary parts, the Snipping Tool is your go-to. Use it when you want to capture a window, a custom region, or even delay the screenshot for timed captures.
In short, pick Print Screen for fast, entire screen grabs and the Snipping Tool for detailed, high-quality screenshots tailored to your needs. Understanding these usage scenarios helps you decide which tool fits your task best.
Editing and Sharing Features of Print Screen and Snipping Tool
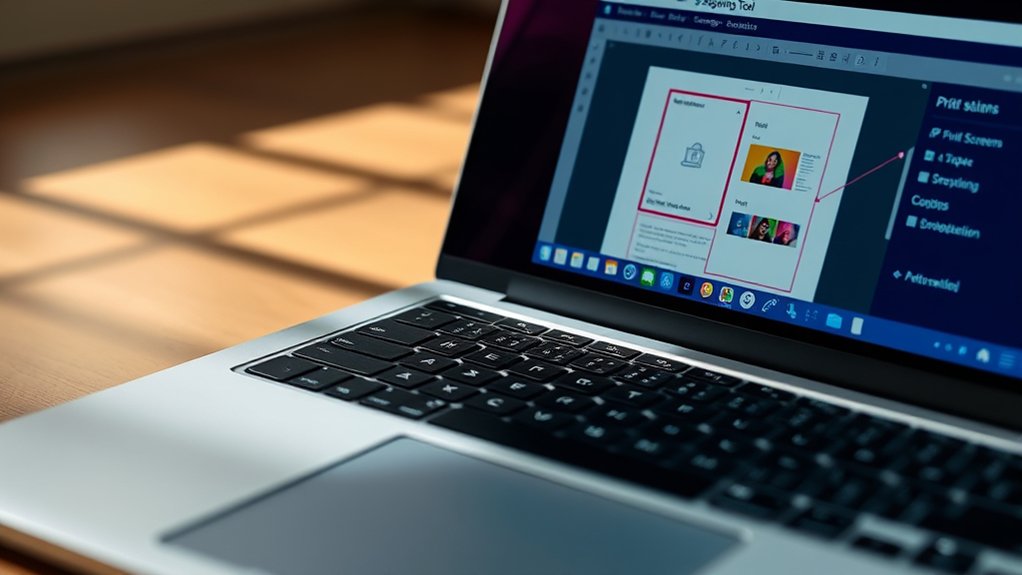
Since capturing a screenshot is just the first step, knowing how to edit and share it efficiently makes a big difference. The Snipping Tool offers robust editing options like cropping, highlighting, and drawing directly on your capture, making quick adjustments simple. On the other hand, Print Screen usually requires you to paste the screenshot into an external editor for any modifications.
For sharing methods, Snipping Tool lets you save, copy, or email your image immediately. With Print Screen, you rely on pasting into apps like email clients or chat windows manually.
Consider these key points:
- Snipping Tool’s built-in editing options speed up your workflow
- Print Screen needs extra steps for editing
- Snipping Tool supports direct sharing via email or clipboard
- Print Screen depends on external apps for sharing
Choose based on how much editing and sharing you need.
Keyboard Shortcuts for Print Screen and Snipping Tool
Editing and sharing screenshots quickly often depends on how fast you can capture them. Keyboard shortcuts provide quick access to both Print Screen and Snipping Tool, speeding up your workflow.
Speed up your workflow by mastering keyboard shortcuts for quick screenshot capture and editing.
For Print Screen, simply press the “PrtScn” key to capture the entire screen. Use “Alt + PrtScn” to capture only the active window.
On Windows 10 and 11, “Windows key + Shift + S” instantly opens the Snipping Tool’s snip menu, letting you select a rectangular, freeform, window, or full-screen snip. You can also open the Snipping Tool app quickly by pressing “Windows key + S” and typing “Snipping Tool.”
These shortcuts let you capture screenshots without traversing through menus, ensuring quick access and saving valuable time whether you’re working or sharing content.
Troubleshooting Common Print Screen and Snipping Tool Issues
You might encounter a few common issues when using Print Screen or the Snipping Tool, but most can be fixed with simple steps. If your screenshots display poor screenshot quality or fail to capture as expected, check your display settings and verify the resolution is ideal. Tool compatibility can also cause problems, especially after OS updates or with third-party software conflicts.
To troubleshoot effectively:
Restart your computer to reset temporary glitches
Update your Snipping Tool or graphics drivers for better compatibility
Verify clipboard functionality if screenshots don’t paste correctly
Adjust screenshot settings or try alternative capture methods for clearer images
Frequently Asked Questions
Can Print Screen or Snipping Tool Capture Scrolling Windows?
You can’t use Print Screen or the basic Snipping Tool for scrolling capture due to window limitations.
To capture scrolling windows, you’ll need specialized software designed for scrolling screenshots.
Are There Security Risks Using Snipping Tool or Print Screen?
Yes, using Snipping Tool or Print Screen can risk exposing sensitive information if you’re not careful. Always guarantee data privacy by saving and sharing screenshots securely, and avoid capturing confidential details unintentionally.
Can Snipping Tool Capture Video or Animated Content?
You can’t use Snipping Tool for video capture or animated screenshots; it only captures still images.
Curiously, over 85% of users prefer dedicated screen recorders for dynamic content, highlighting Snipping Tool’s limitation.
Is There a Way to Customize the Screenshot File Format?
You can’t directly customize screenshot file format in Snipping Tool, but adjusting screenshot preferences in other apps lets you choose file format options like PNG, JPEG, or BMP before saving your capture.
Do Print Screen and Snipping Tool Work on All Operating Systems?
Imagine trying to use a universal key; print screen and snipping tool don’t offer that. Their cross-platform compatibility varies, so you’ll face operating system limitations. Some systems support them, while others require alternatives.
Conclusion
Whether you choose Print Screen or Snipping Tool, both are your trusty sidekicks for capturing exactly what you need on your screen. Print Screen is quick and straightforward, perfect for full-screen shots, while Snipping Tool offers precision and editing power.
Knowing when to use each saves time and hassle. So, don’t let screen capturing be a wild goose chase—pick the right tool, and you’ll capture your digital world with ease every time.
In the end, understanding the difference between Print Screen vs Snipping Tool helps you choose the best method for your needs.